Blueprints setup
In this guide:
- initial setup
- configuring blueprints
- configuring interpretations
Step 1: Setup and run Creator Studio web app
Choose one of two options to install Creator Studio:
- Docker setup (Recommended)
- Manual installation
Step 2: Configure PolkadotJS and connect to the local node:
Install PolkadotJS browser extension.
Import seeder account using
SEEDER_MNEMONIC.Navigate to
http://localhost:3000in the browser.Click
disconnectedbutton and connect to the local node and local ipfs: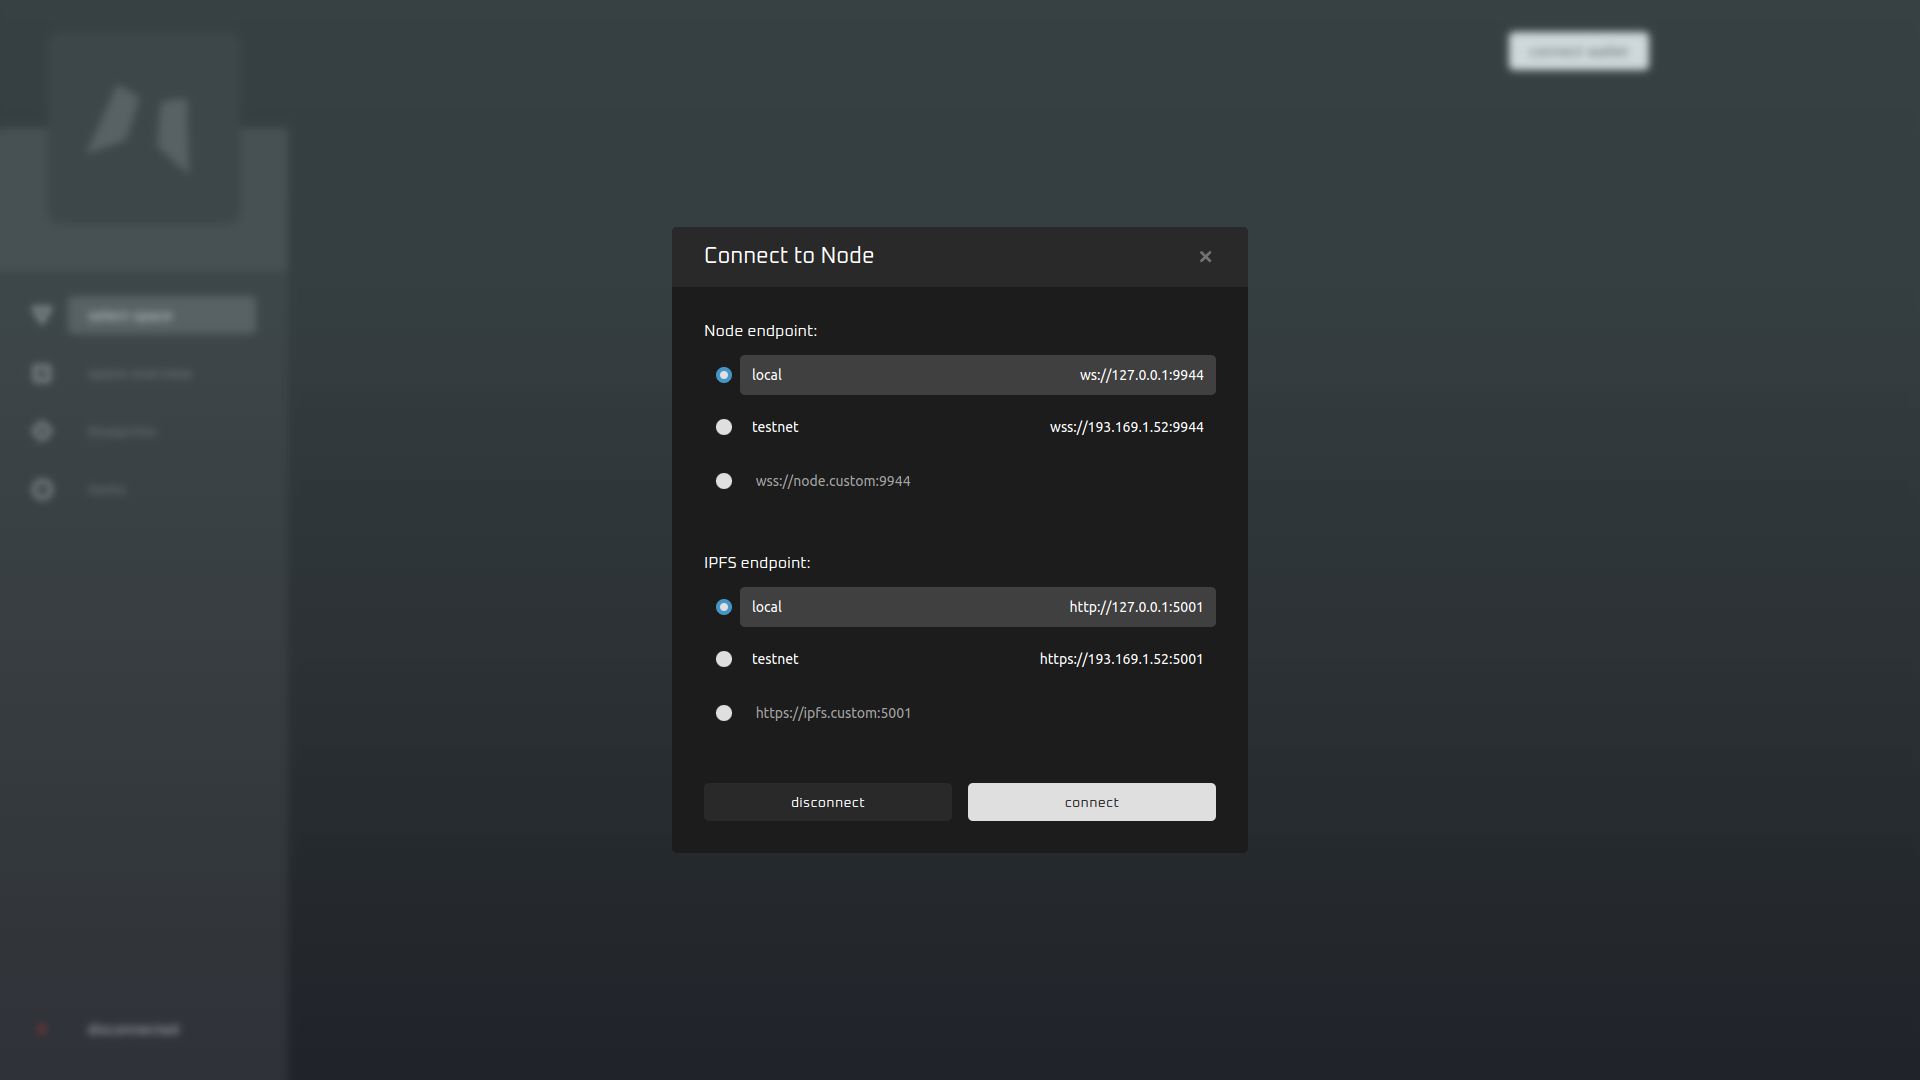
Click
connect walletbutton -> SelectPolkadot{.js} wallet-> Select seeder account, which you have imported before: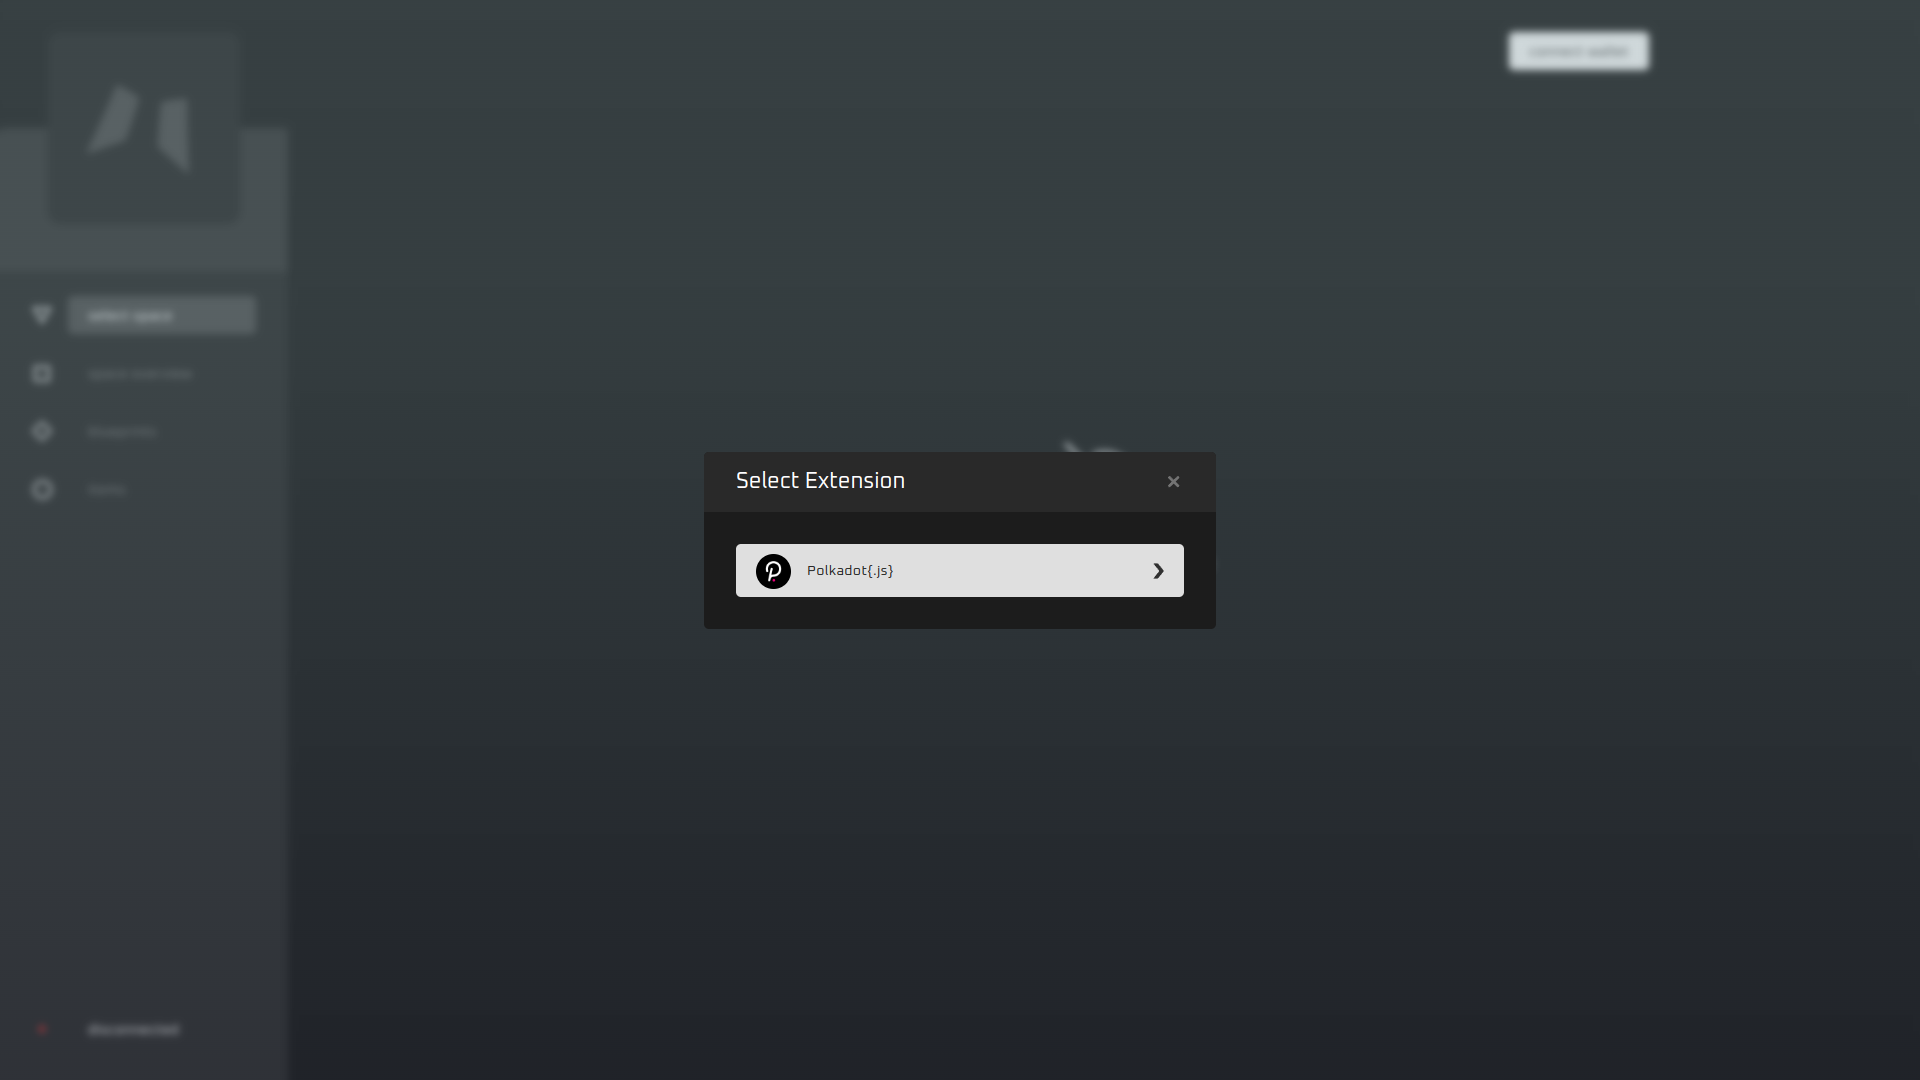
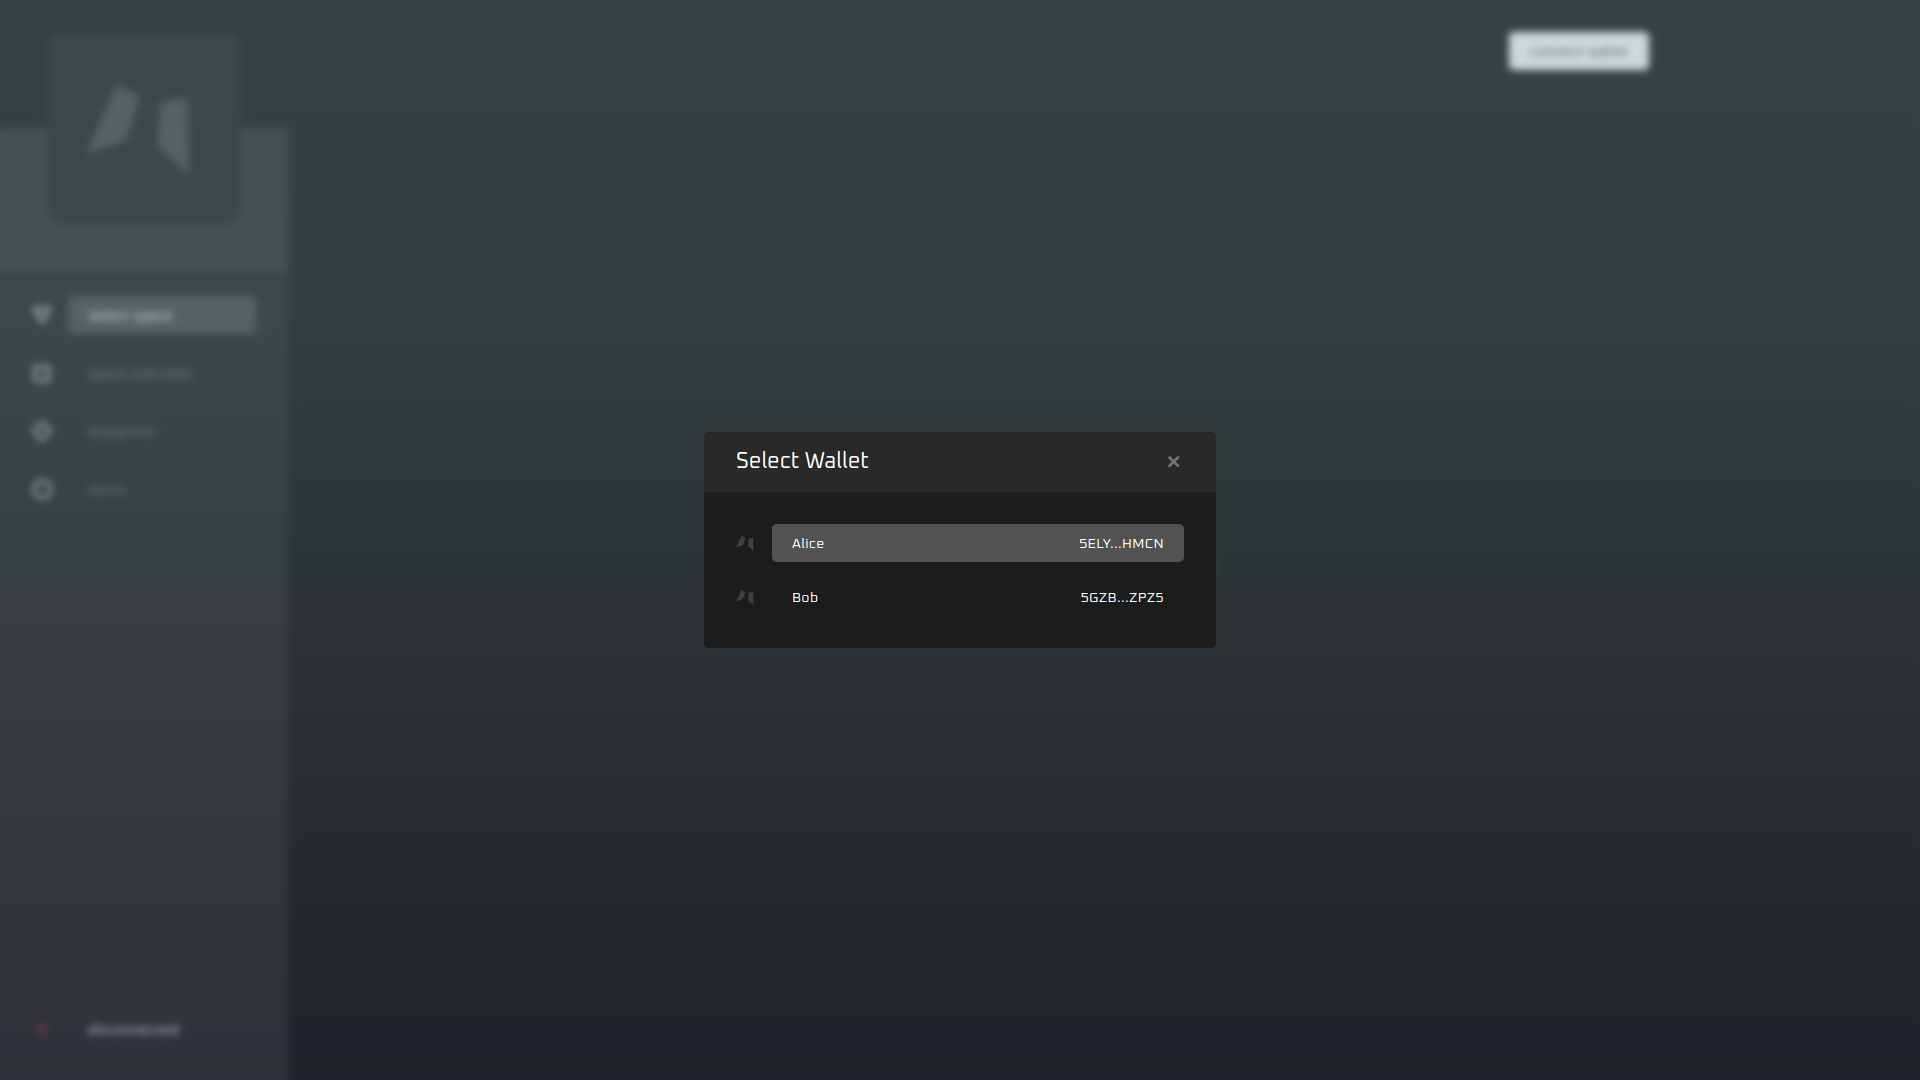
After that, you will see the list of spaces associated with the seeder account. Select the first one, for instance:
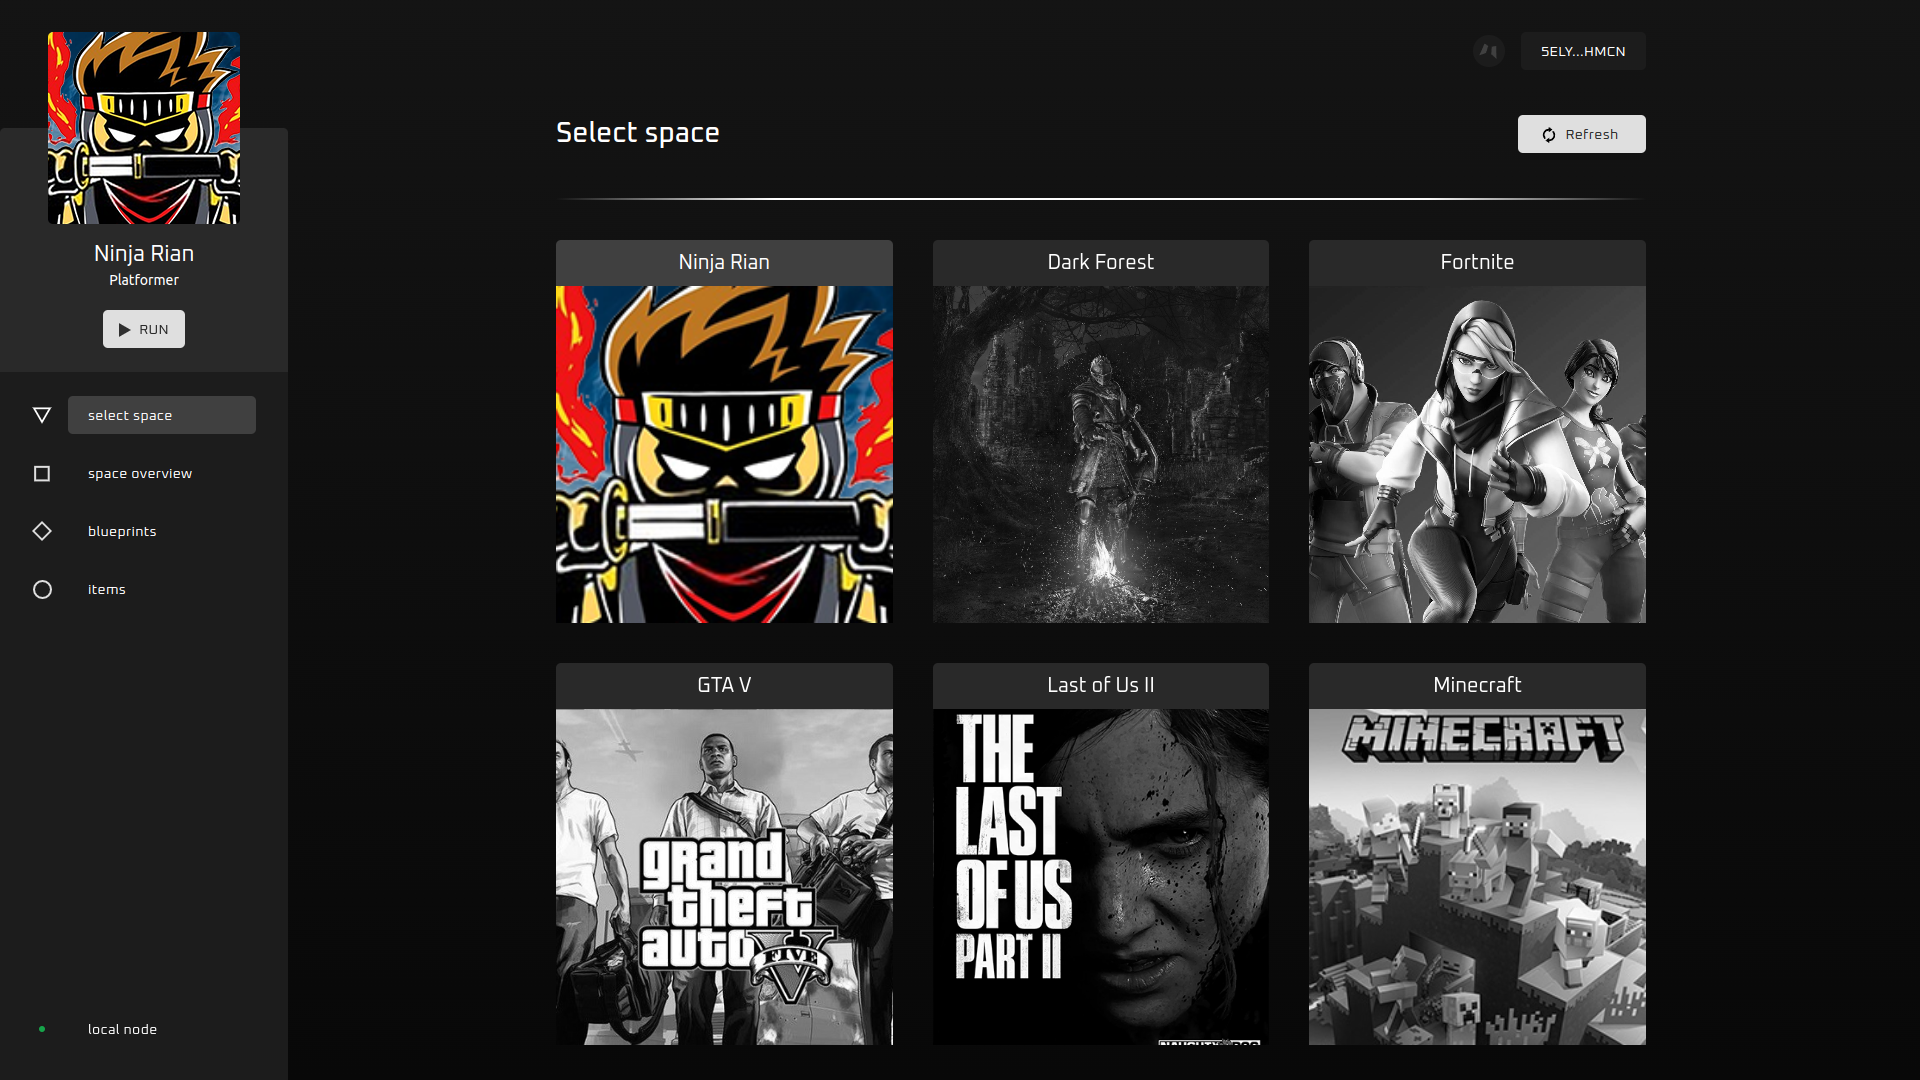
You can click
space overviewbutton and check space metadata, which is configured by the seed script: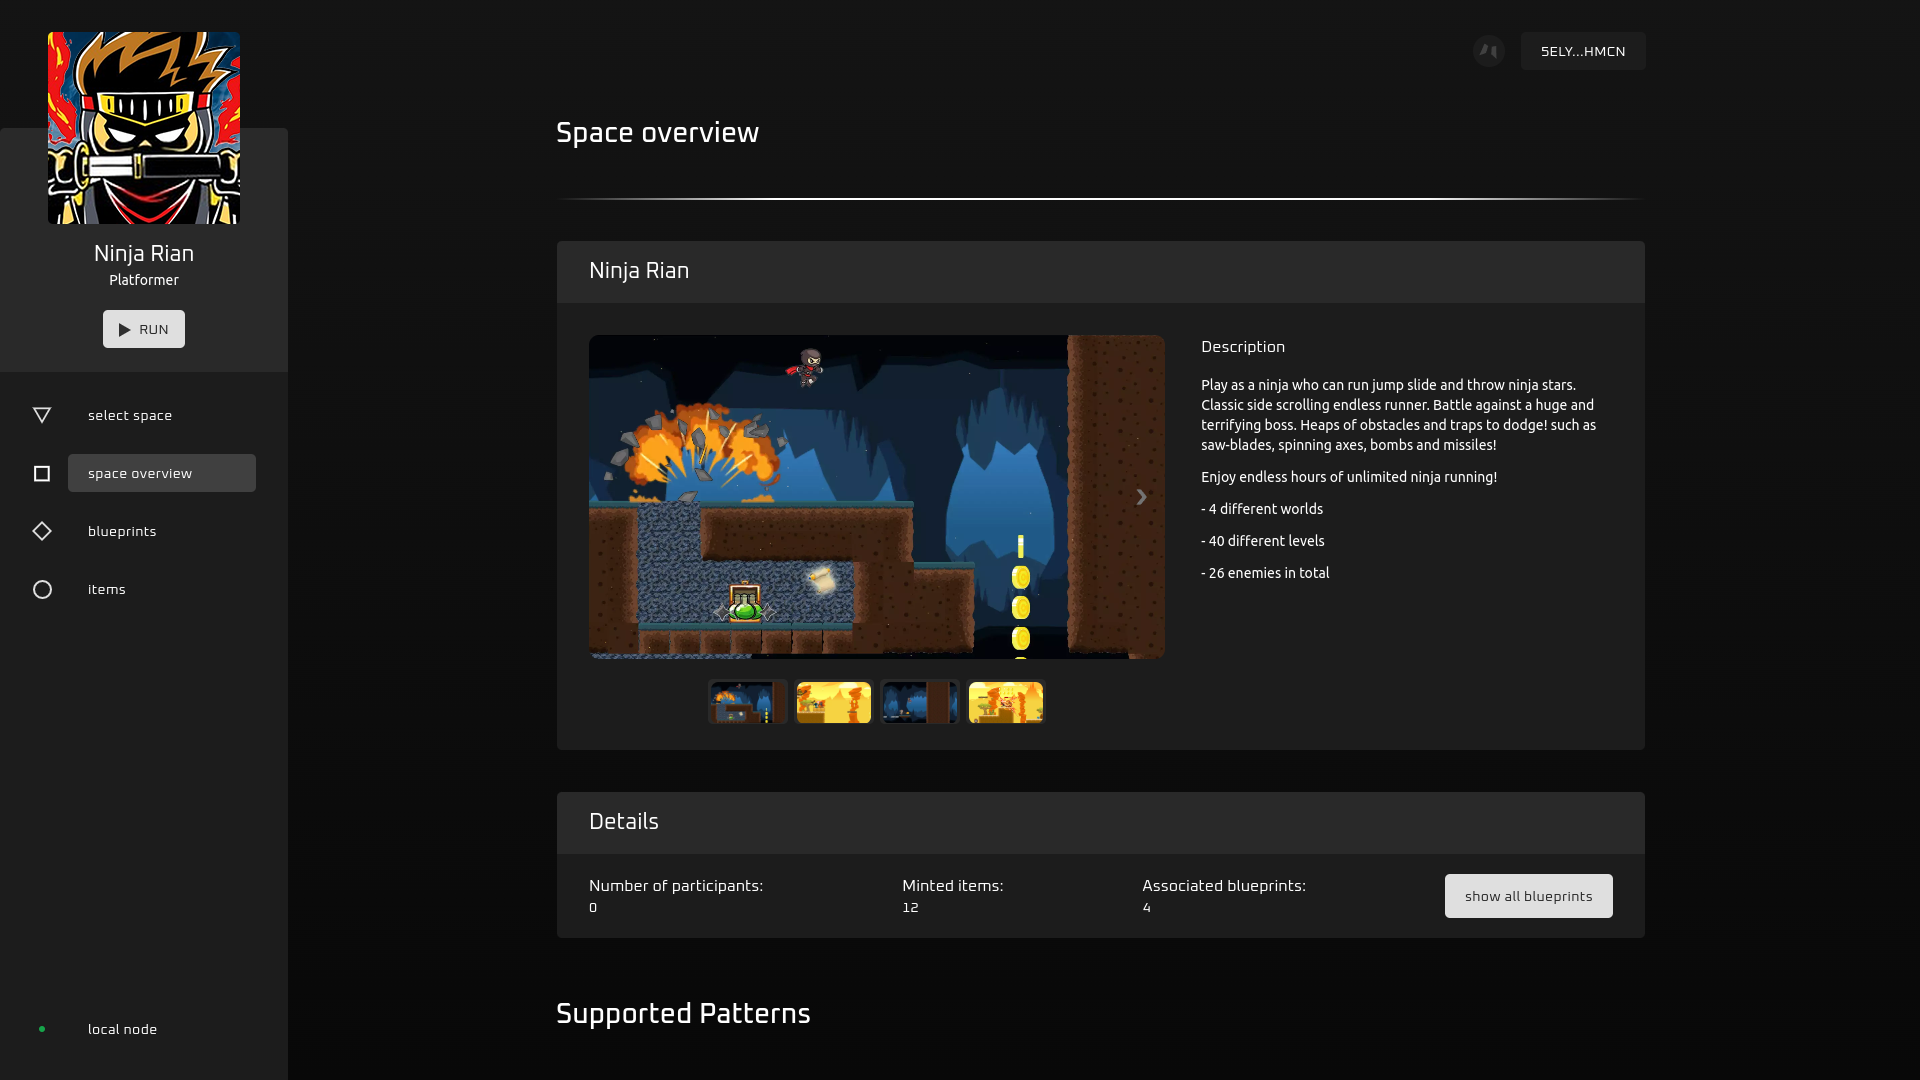
Step 3: Configure Blueprint and Interpretations:
Navigate to the
blueprintspage and click+ create blueprintbutton. Here you have to fill in metadata related to the Blueprint (Name,Description). All Blueprints should have at least one visual Interpretation withdefault-viewtag. This Interpretation can be used in the marketplace and represents general visual features of the blueprint.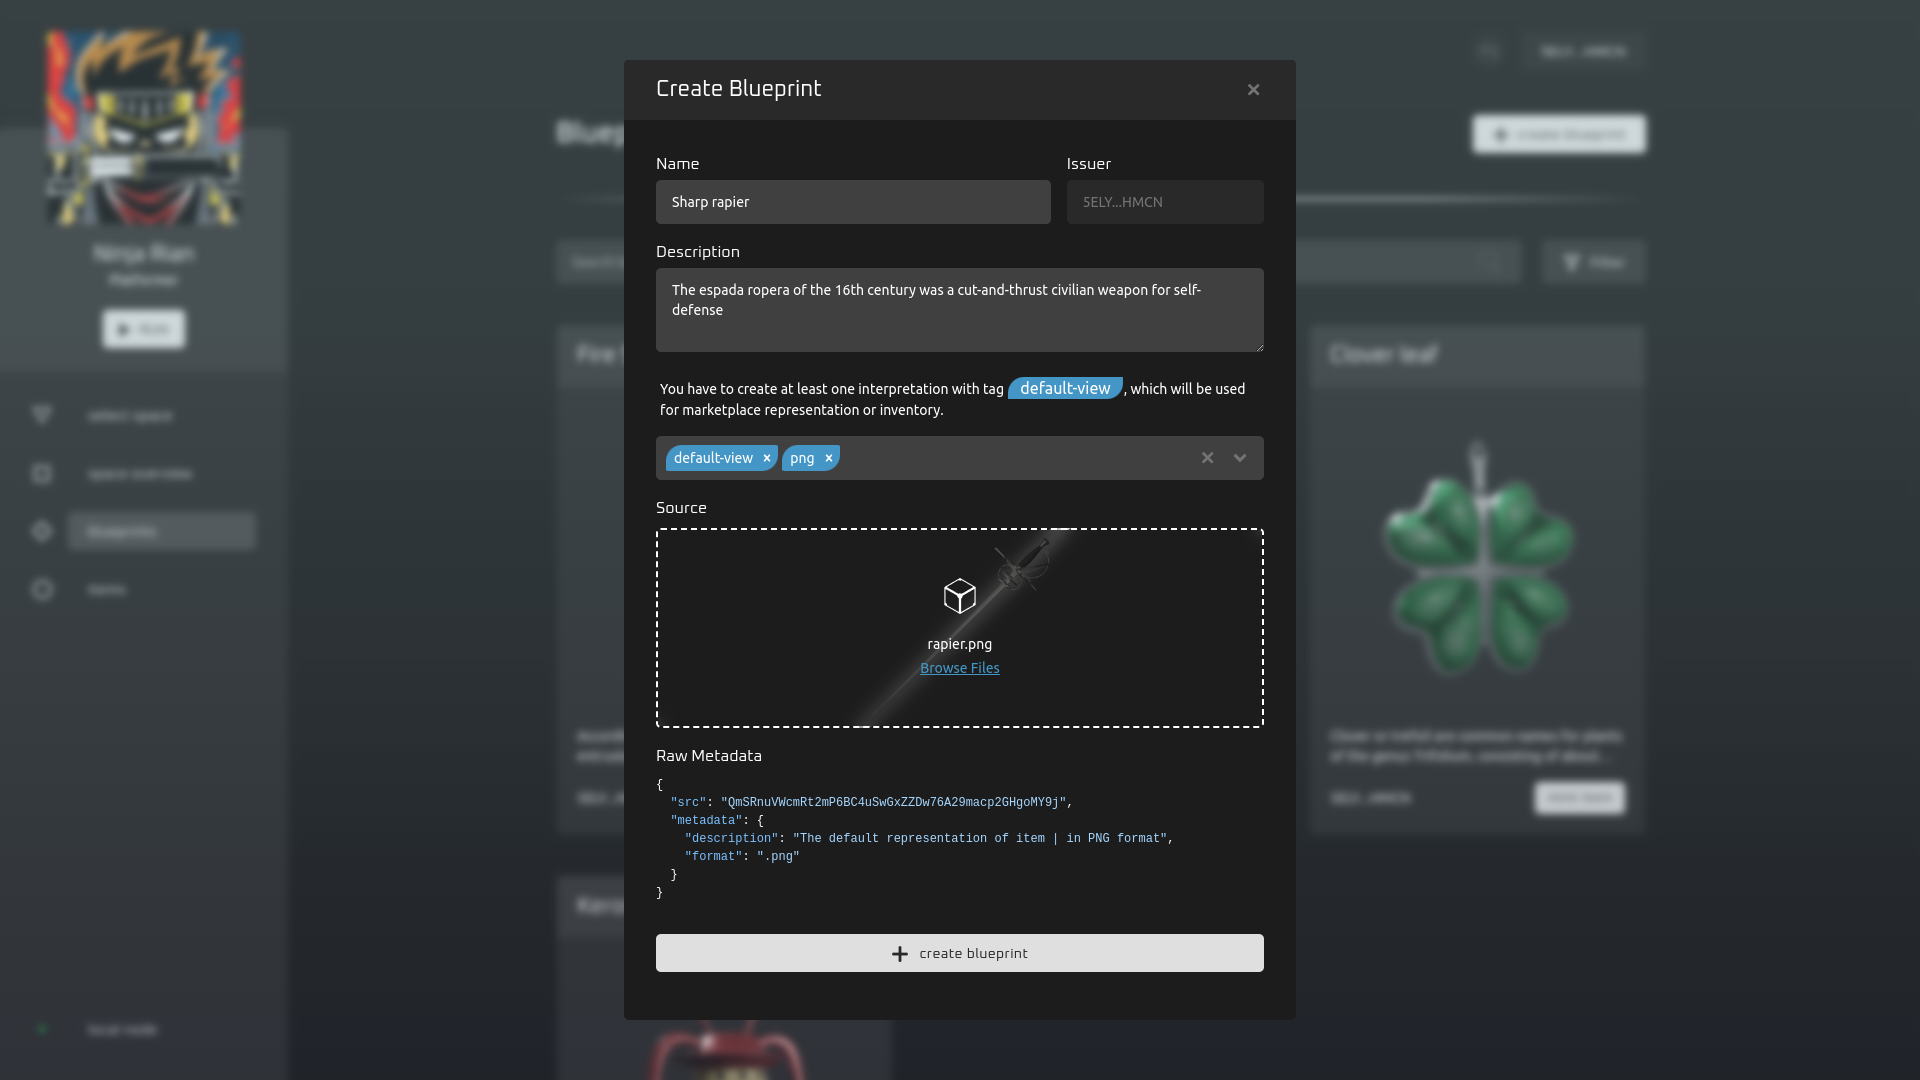
Adding Tags affects the metadata of Interpretation. You can check the result in
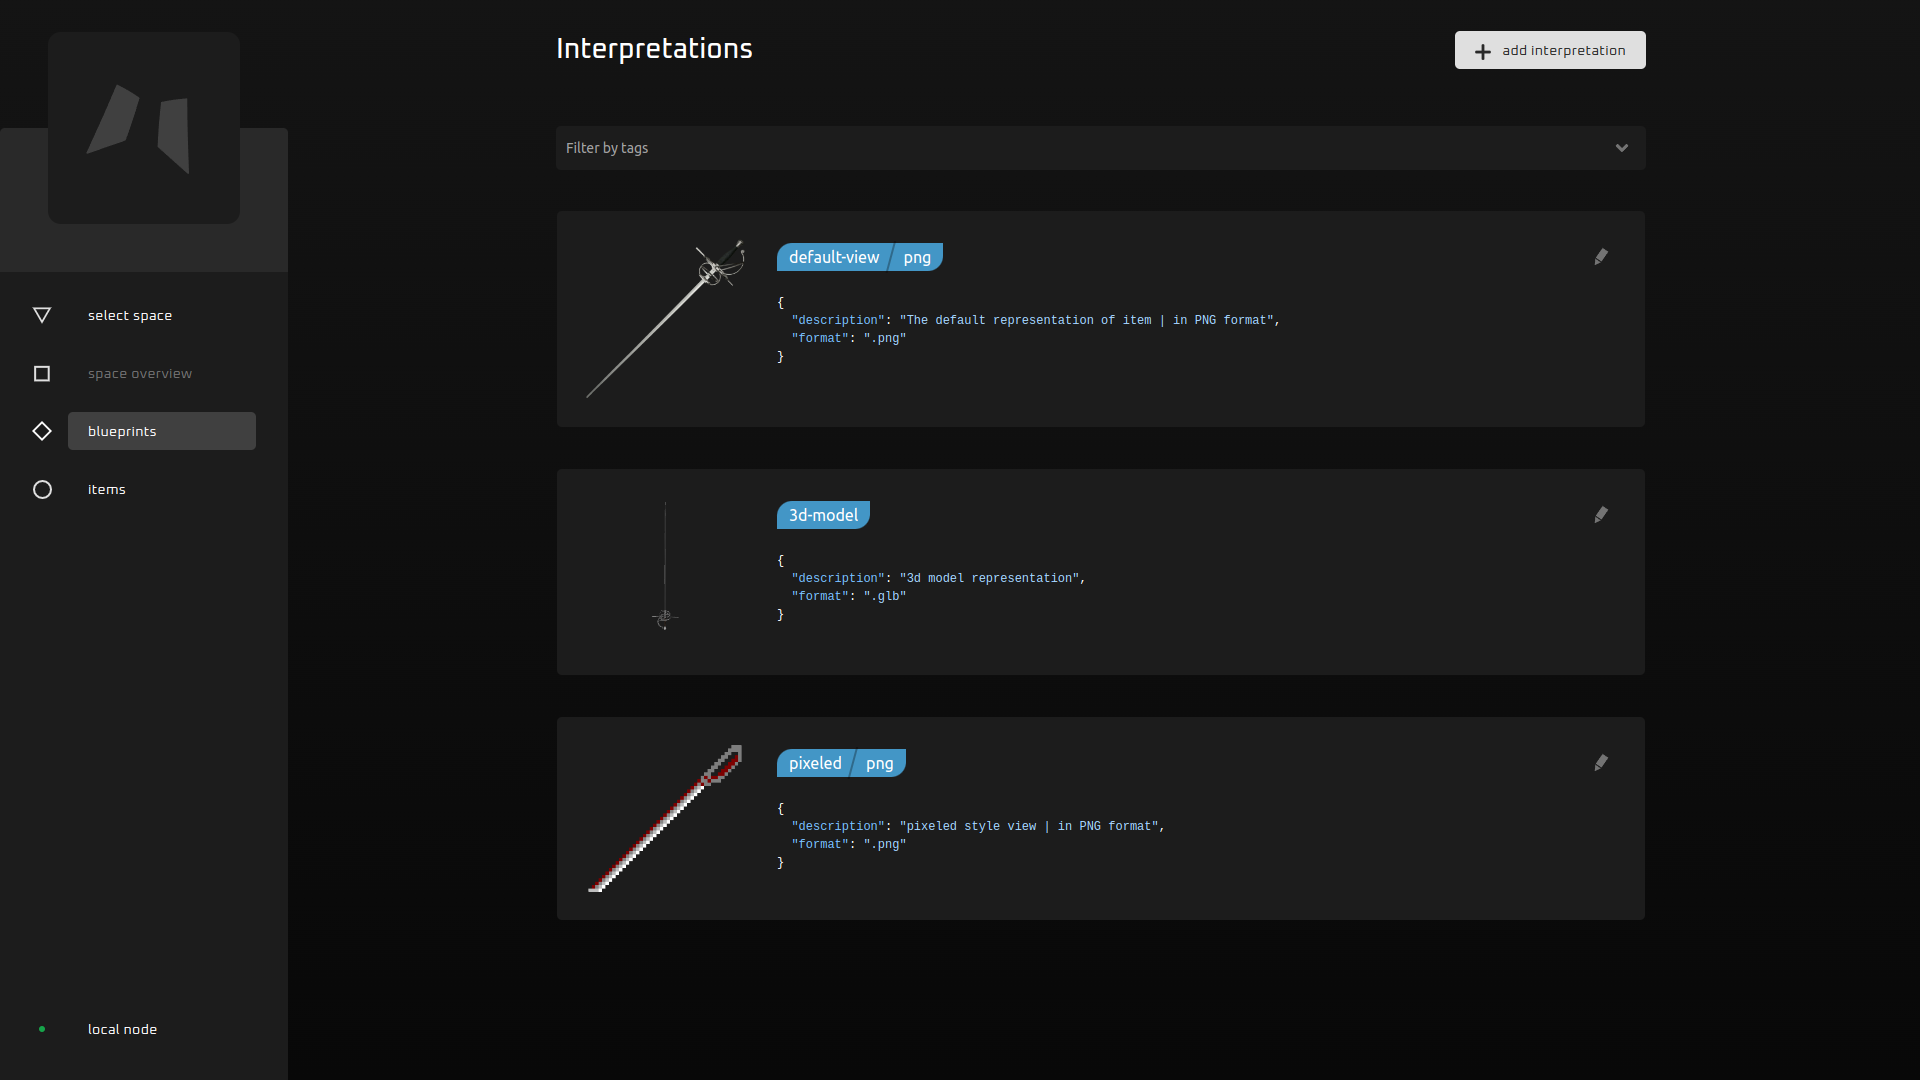
Raw Metadatafield. Consider tags as a verbal description of Interpretation. Tags can carry metadata fields with predefined or configurable values, or even without any metadata, bringing specific semantics to the Interpretation (like thepixeledtag):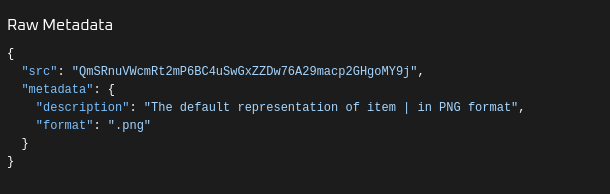
After submitting Blueprint and signing a transaction, you can find the Blueprint using the search bar:
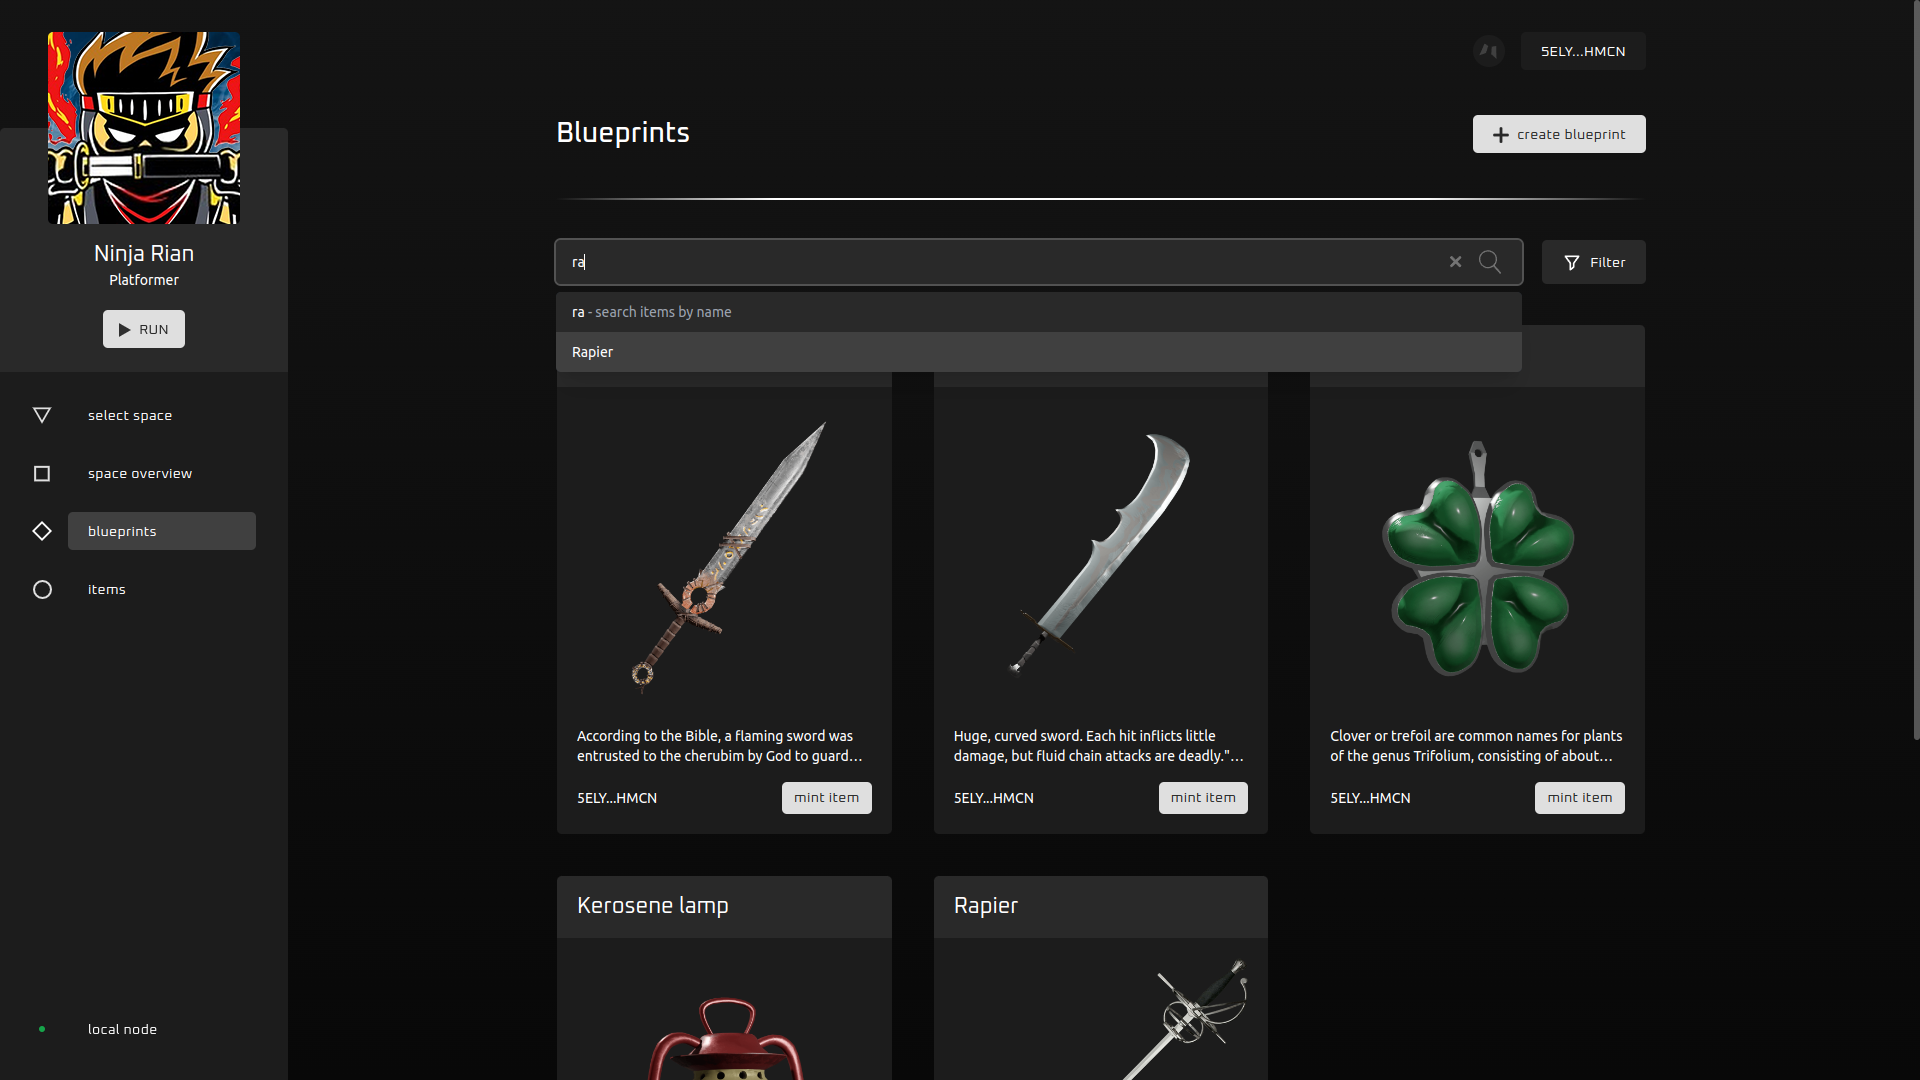
Click on the blueprint and check its metadata and Interpretations. You can add new Interpretation to the Blueprint or edit the existing one:
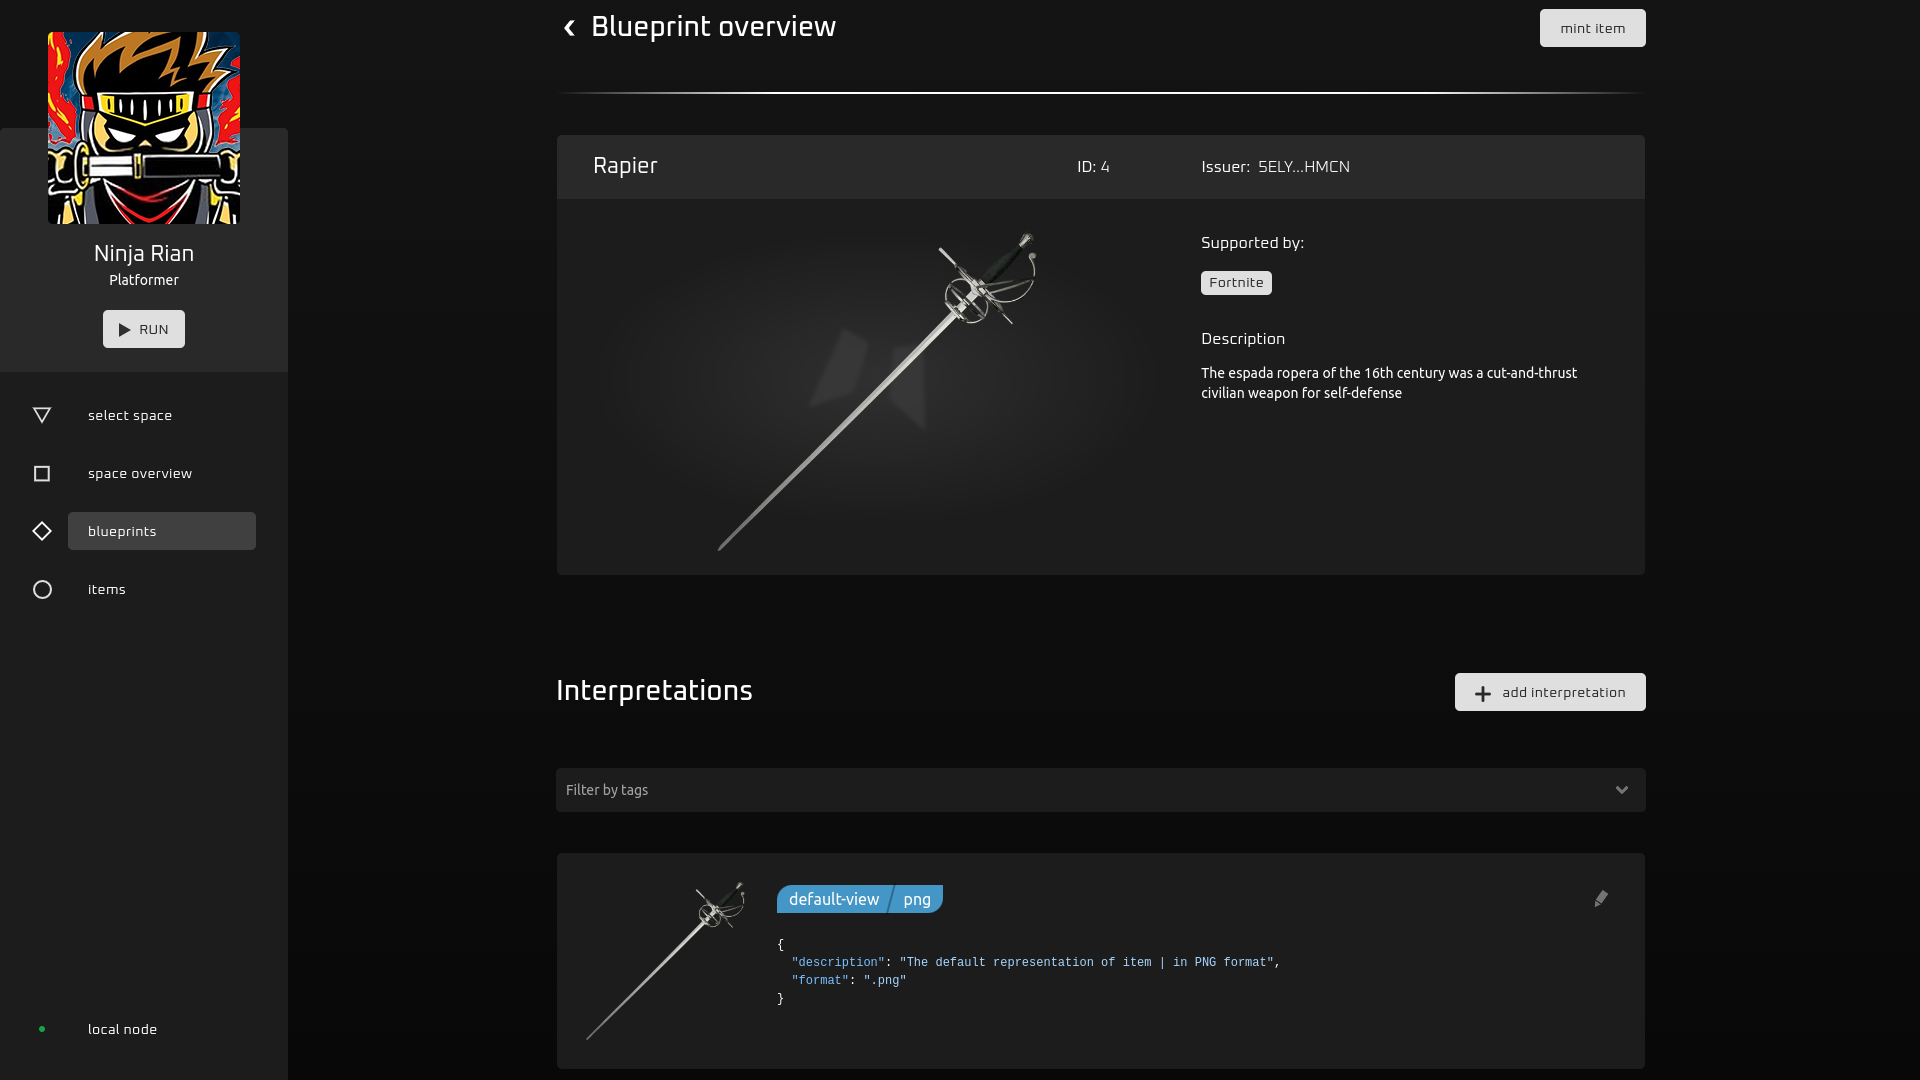
Let's add a new Interpretation with
pixeled tag.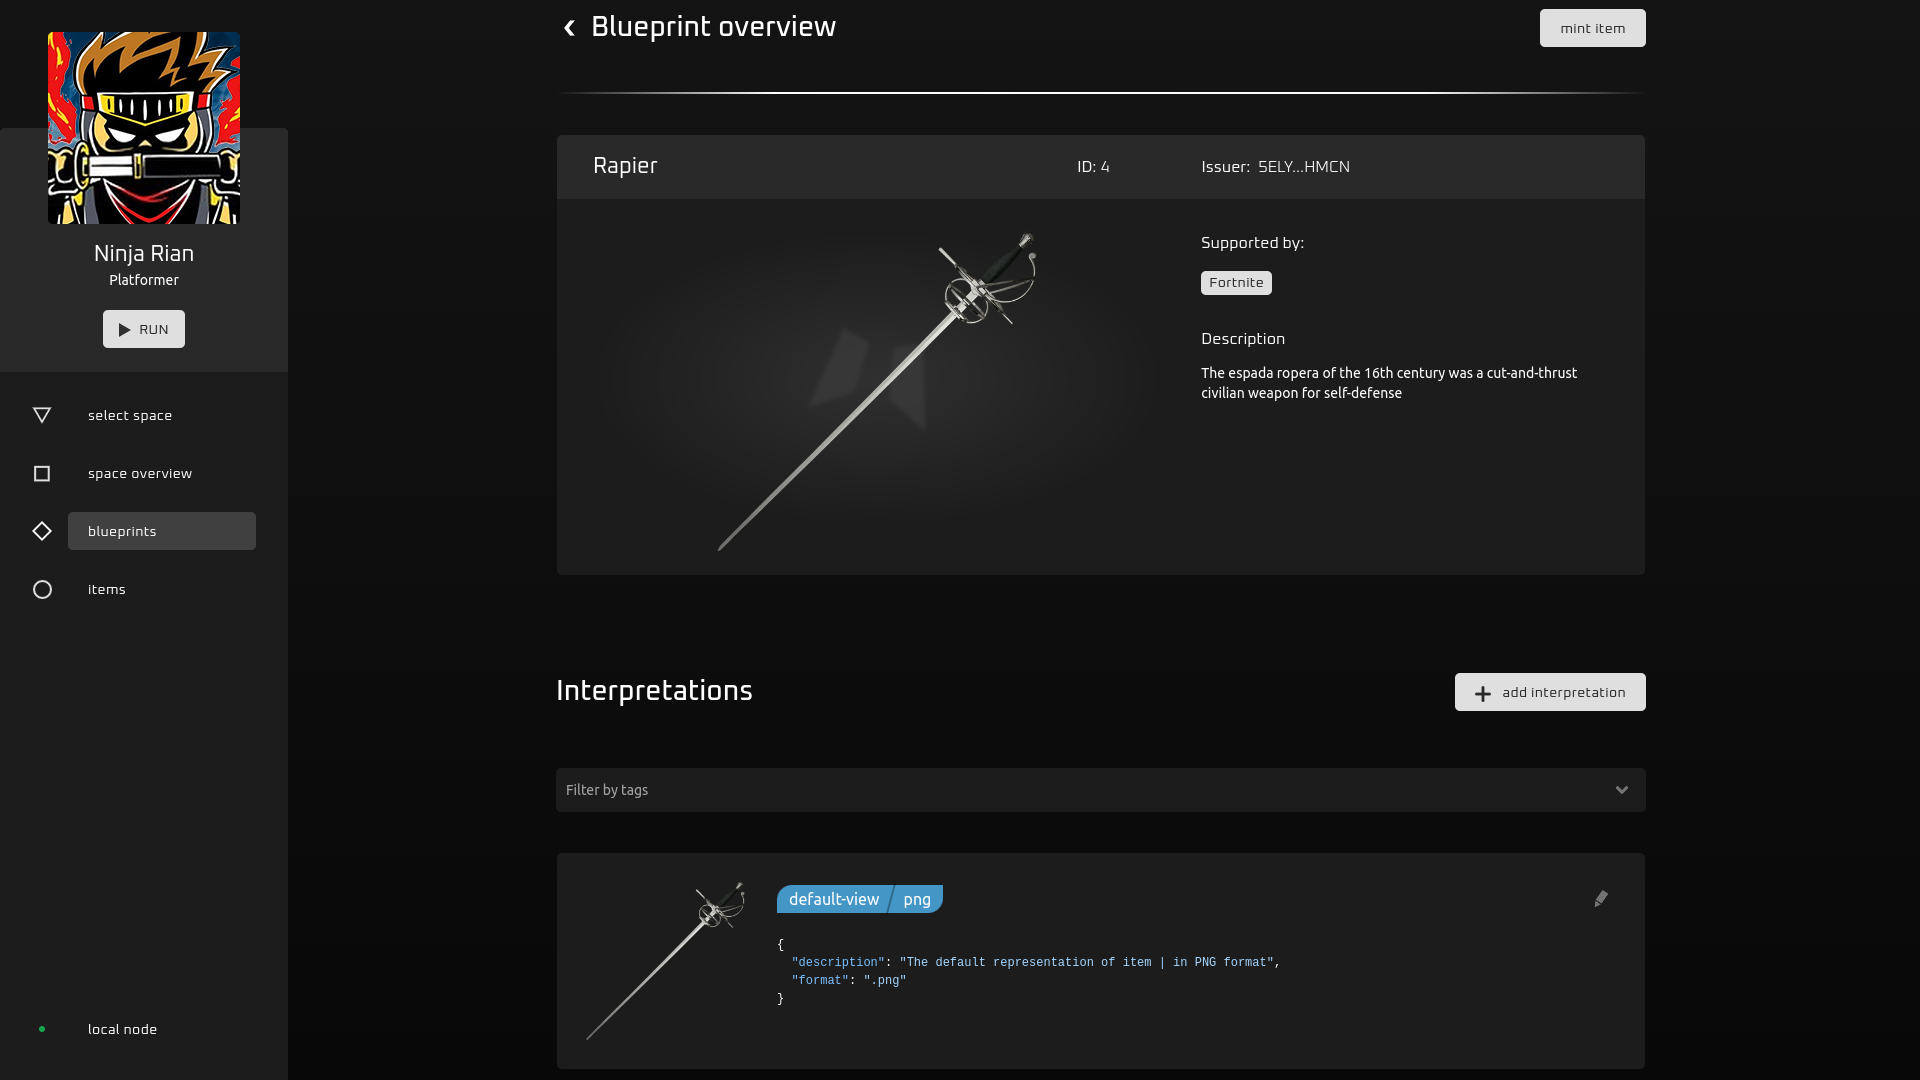
Adding Interpretations allows NFT items to have different representations within one or multiple spaces. Suppose we have two visually different spaces (2D and 3D) which want to share one NFT item. To make this possible, we have to add 3d interpretation.
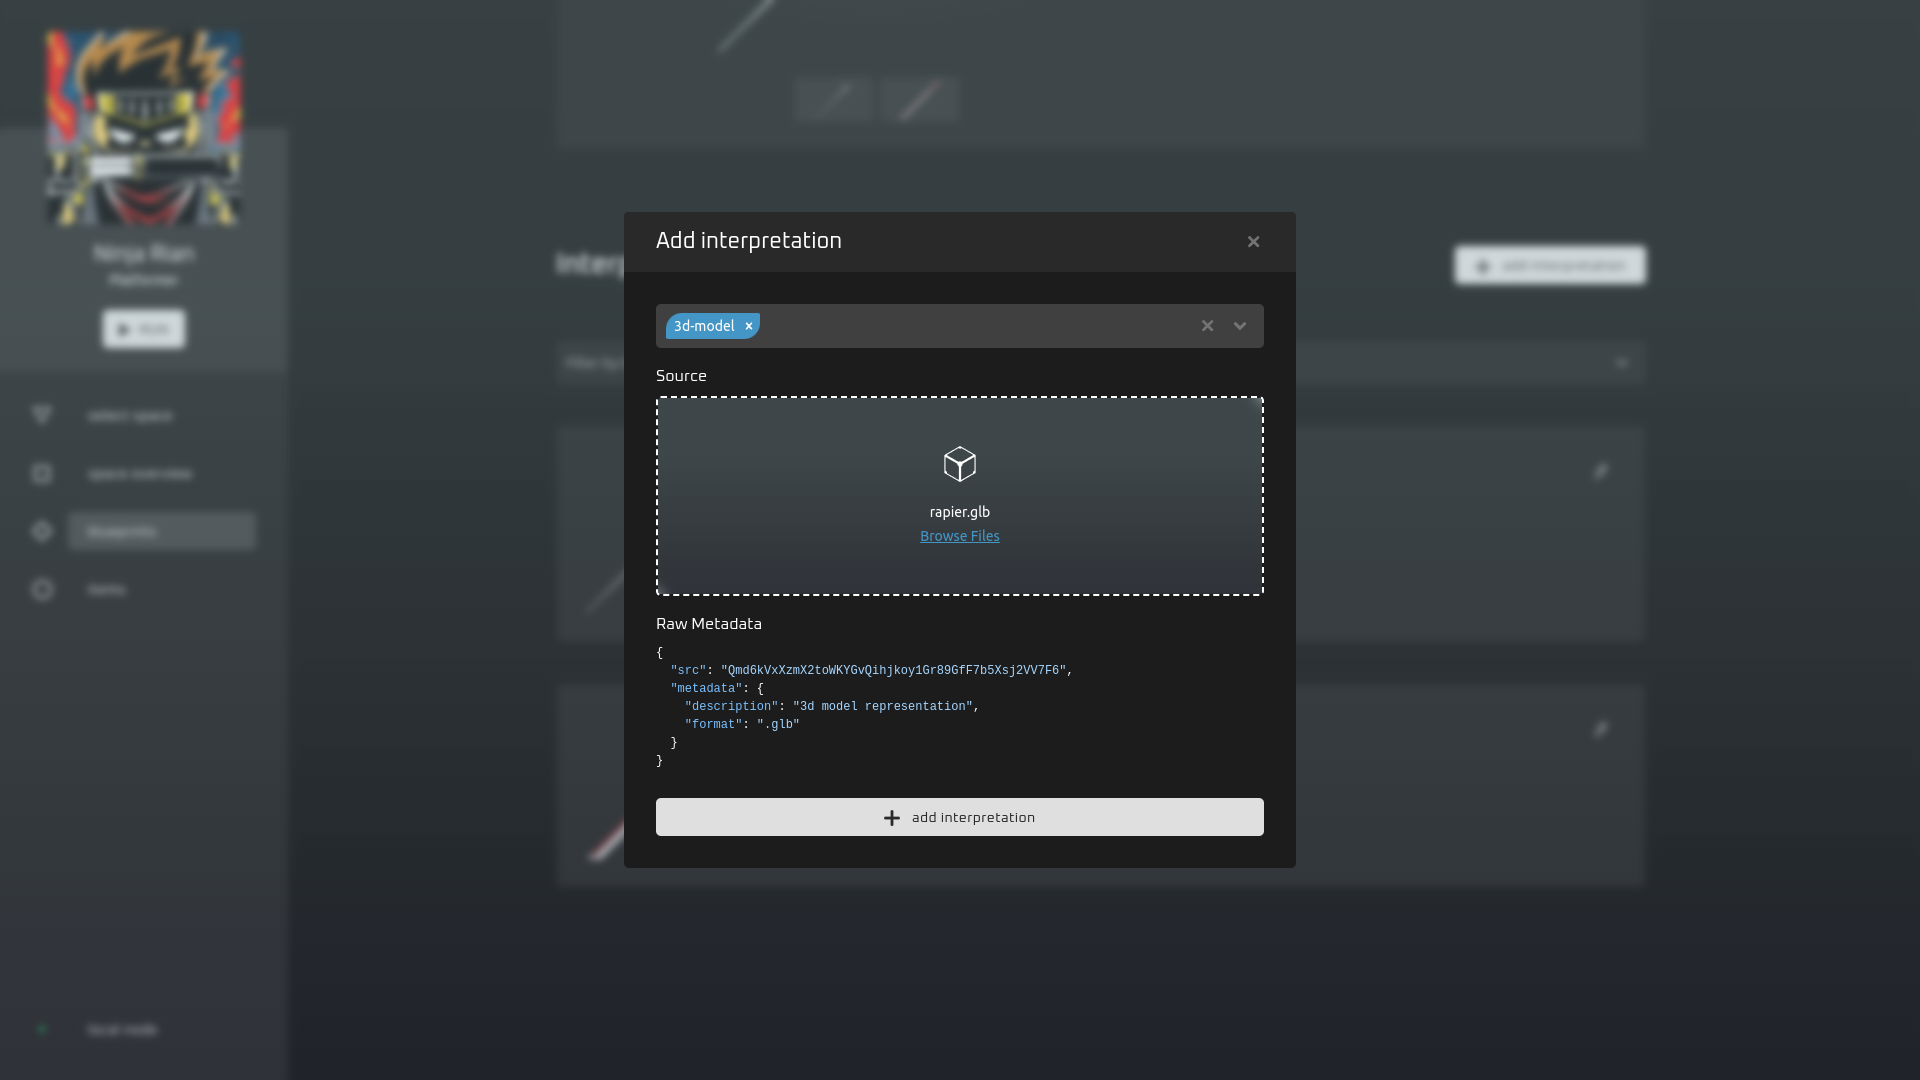
Finally, we have set up our Blueprint with multiple visual Interpretations!